
While originally criticized for being a “TikTok copycat,” Instagram Reels have since gained positive responses from influencers, brands and users. After incorporating them into our own Instagram feed, we can 100% support the hype. Instagram Reels are here to stay and for good reason!
Key IG Reel stats:
- Instagram Reels were released on August 5, 2020, in more than 50 countries.
- In June 2020, IG Reels expanded to France and Germany.
- 87% of GenZ TikTok users feel Instagram Reels are basically the same as TikTok
- Reels are generating more engagement than traditional IG videos. For example, the average NFL team’s Reel is generating 67% more engagements than their average Instagram video.
- In a survey of 5,243 marketers—the majority of whom work for small businesses—a whopping 70% said that they plan on increasing their activity on Instagram and only 19% said they planned to increase their activity on TikTok.
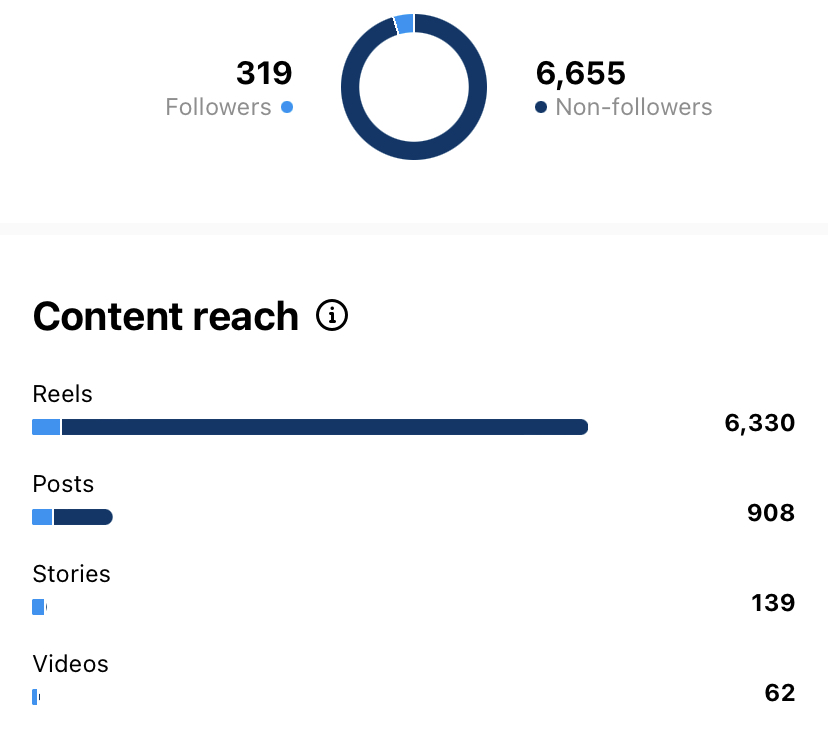
We can attest that Instagram Reels invite loads more engagement and help introduce new users to your content. Still not convinced? Take a look at this April data about our Instagram reach:
Is it any wonder why we’re such a big fan of Reels? In addition to increasing our reach drastically, they’re also super fun to make! So whether you’ve dabbled in Reels or are afraid to take the first step, we’re breaking down all of the essentials in this blog so you can start incorporating Reels into your strategy pronto!
Making an IG Reel 101:
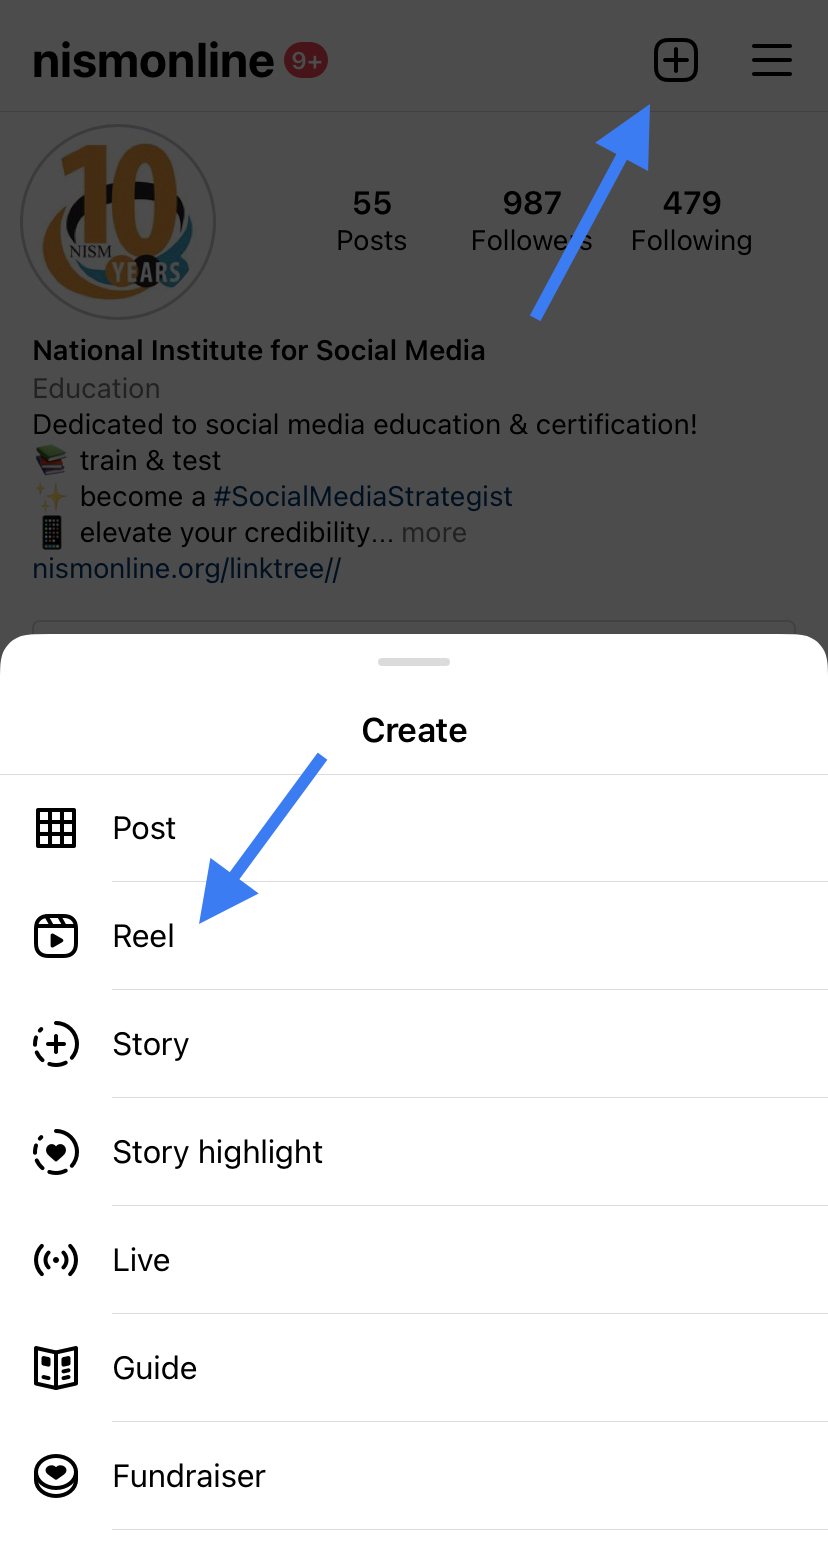
First things first, to access Reels, simply swipe right to open your camera on the left or click the + icon in the top right and select “Reel.” It’s located in the same spot you’d go to post a story or add an image to your feed!
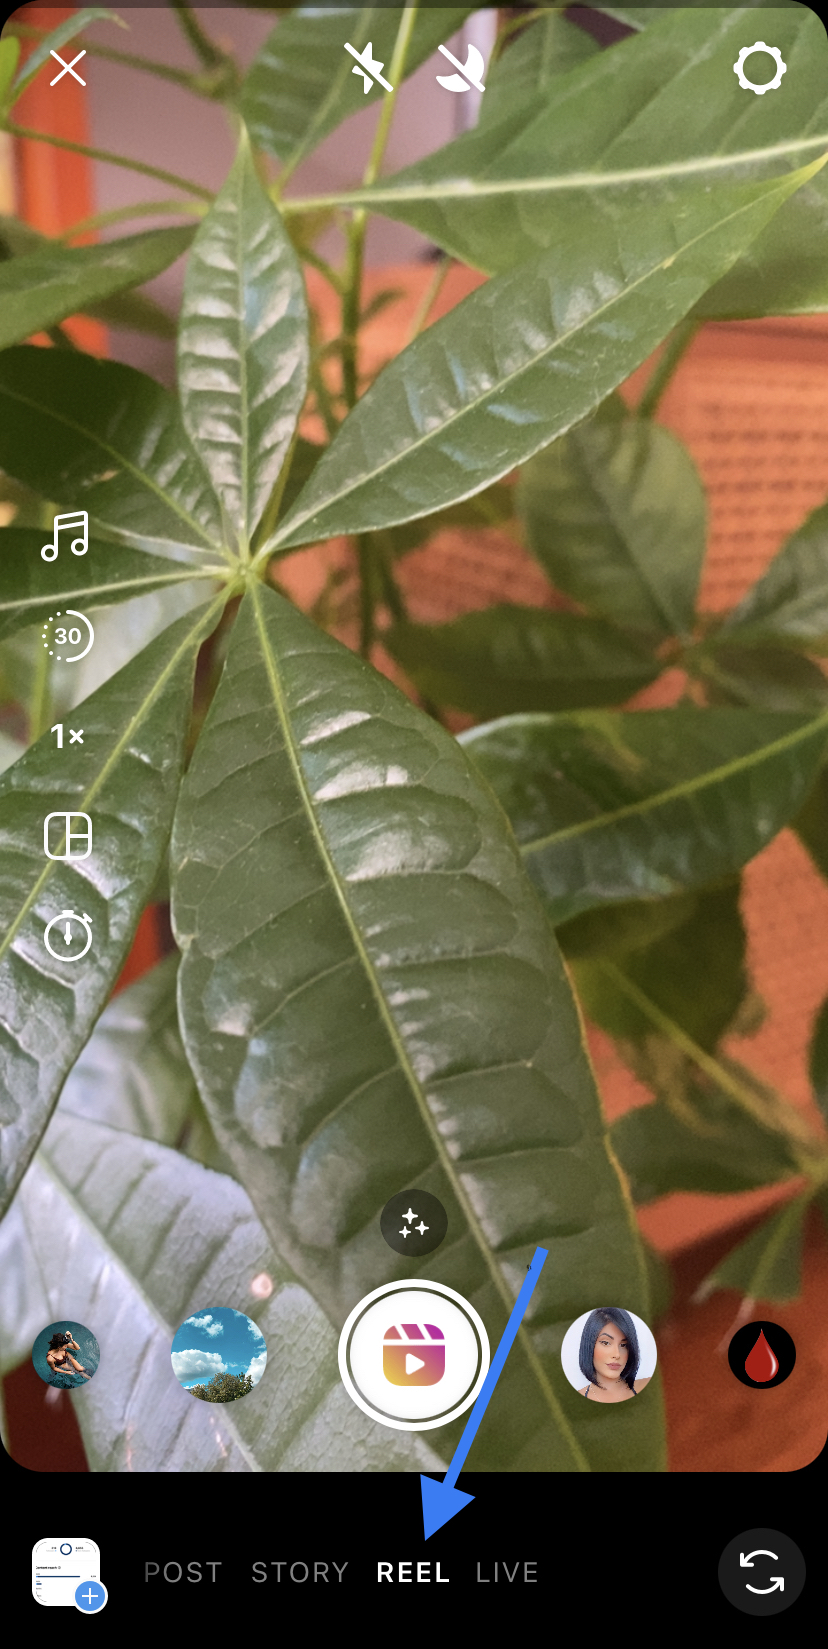
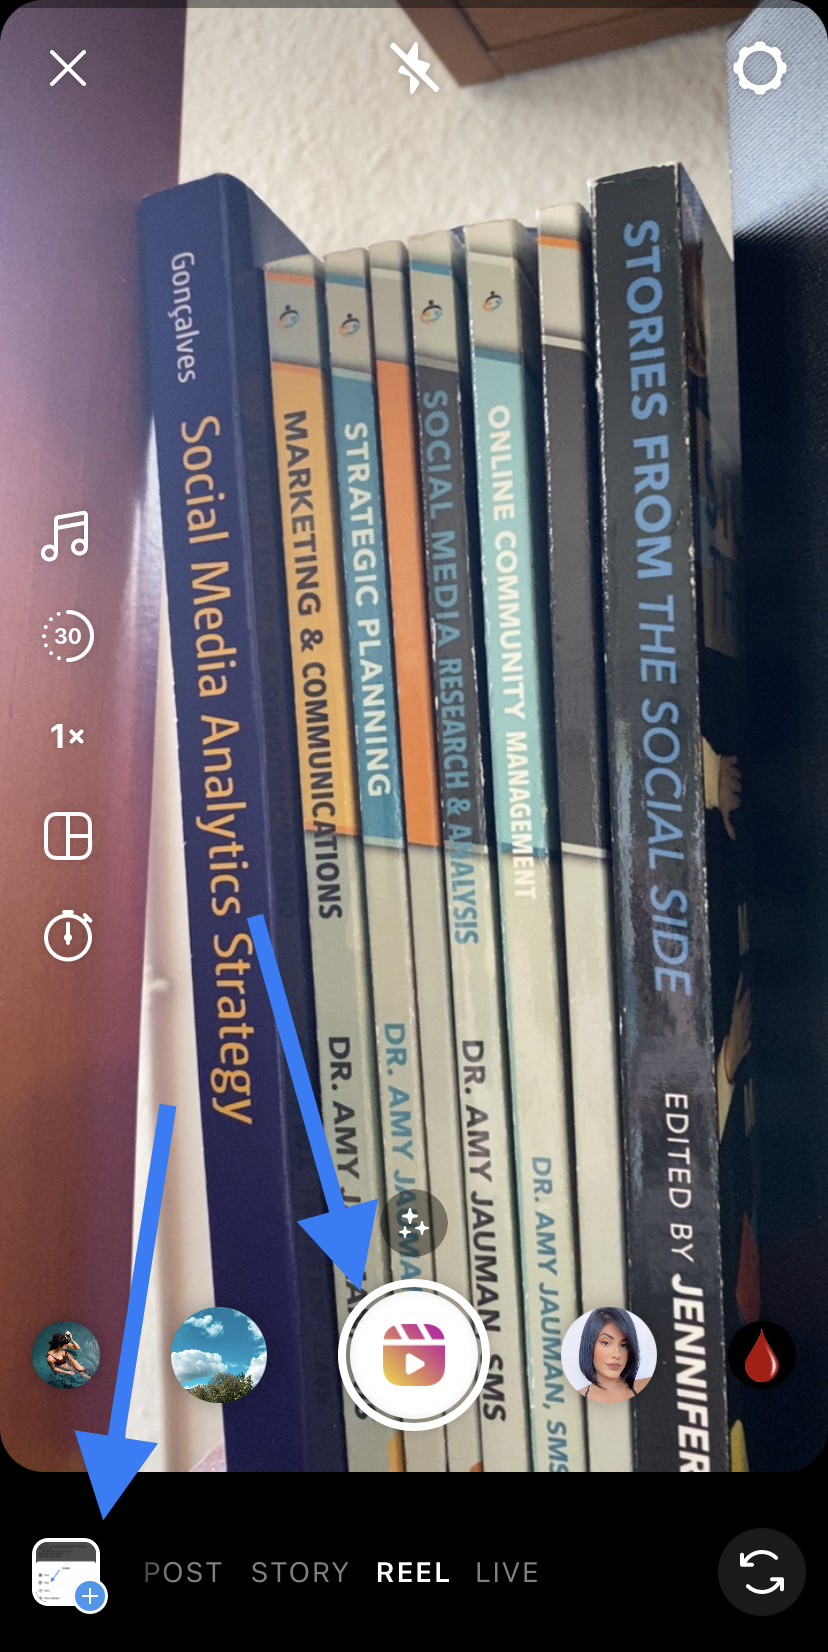
Instagram then gives you two options to create a Reel. You can either begin to record using the middle button with the Reel symbol or upload videos or photos from your camera roll in the bottom left. And yes, photos can work well in Reels!
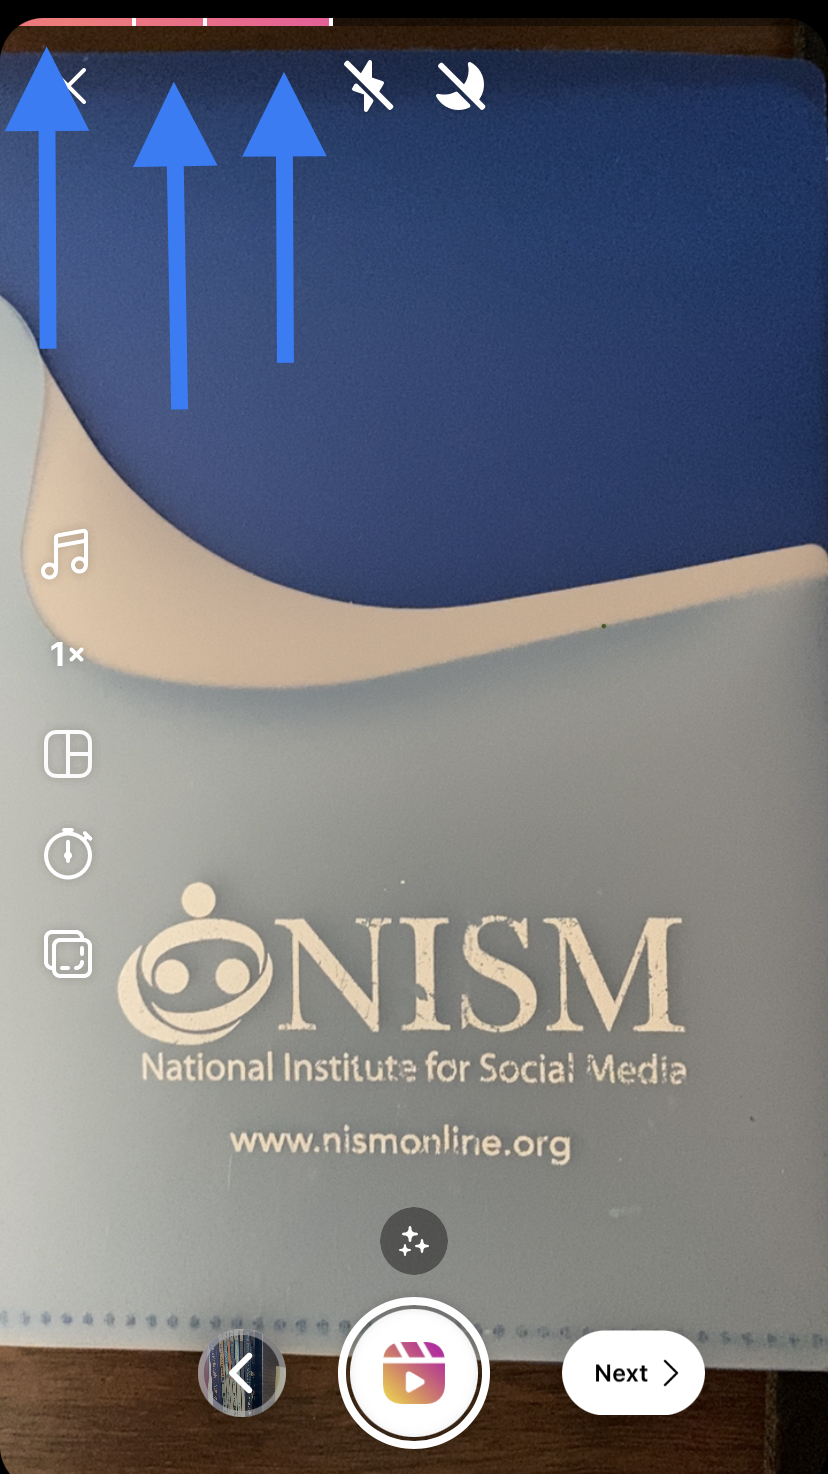 A key thing to note: while a Reel can last up to 60 seconds, you don’t have to record something in one fell swoop. Instead, hold down the record button for as long as you need and release it. What you just recorded will be automatically saved in a pink progress bar at the top so you can see how much time you have left to fill. This is especially beneficial if you want to reshoot something because you can delete individual segments of the progress bar without having to start from the beginning.
The example above shows one segment that lasted 25 seconds, a second segment that lasted 3 seconds, and a third that lasted 5 seconds.
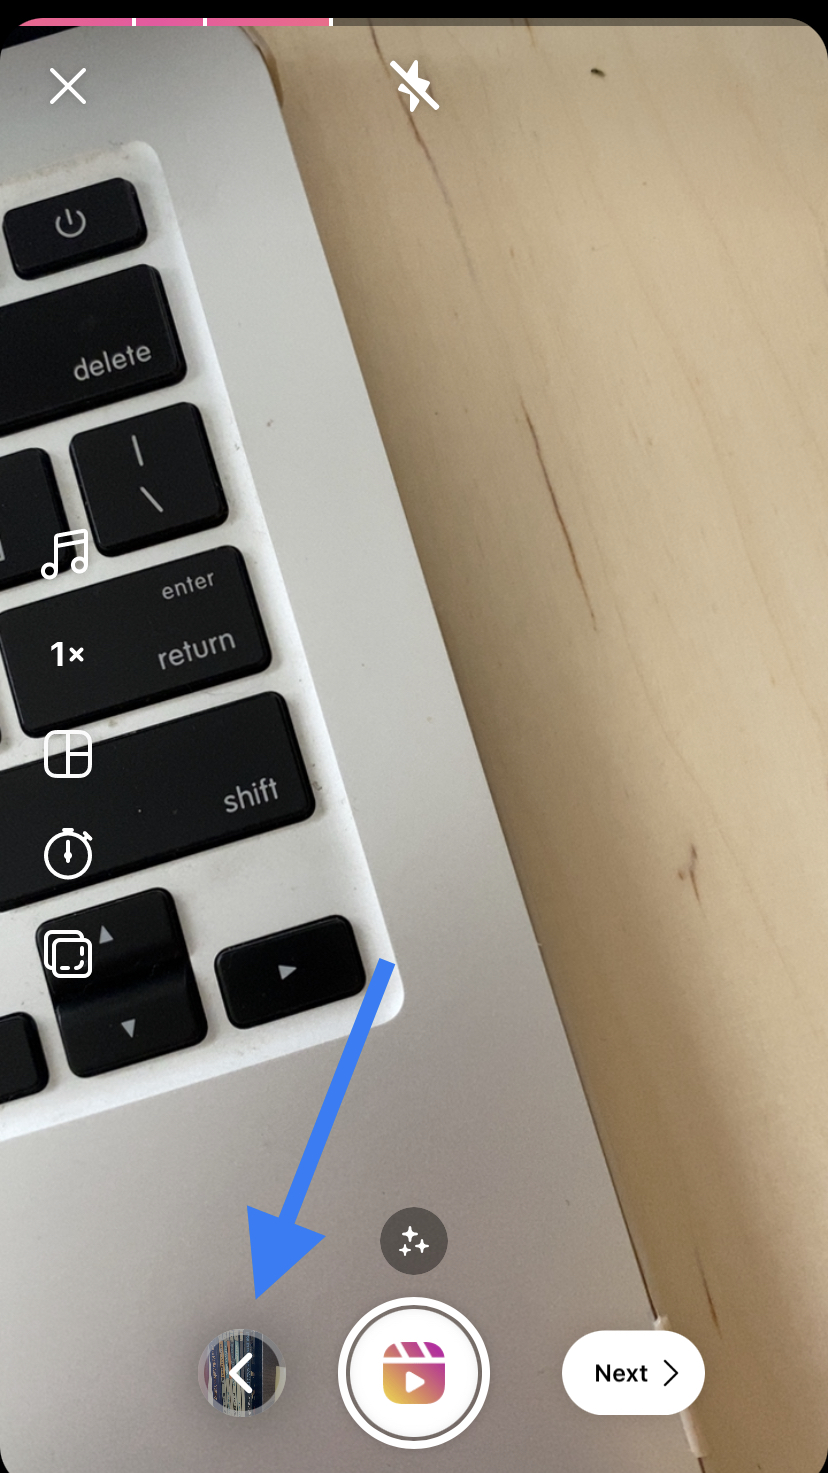
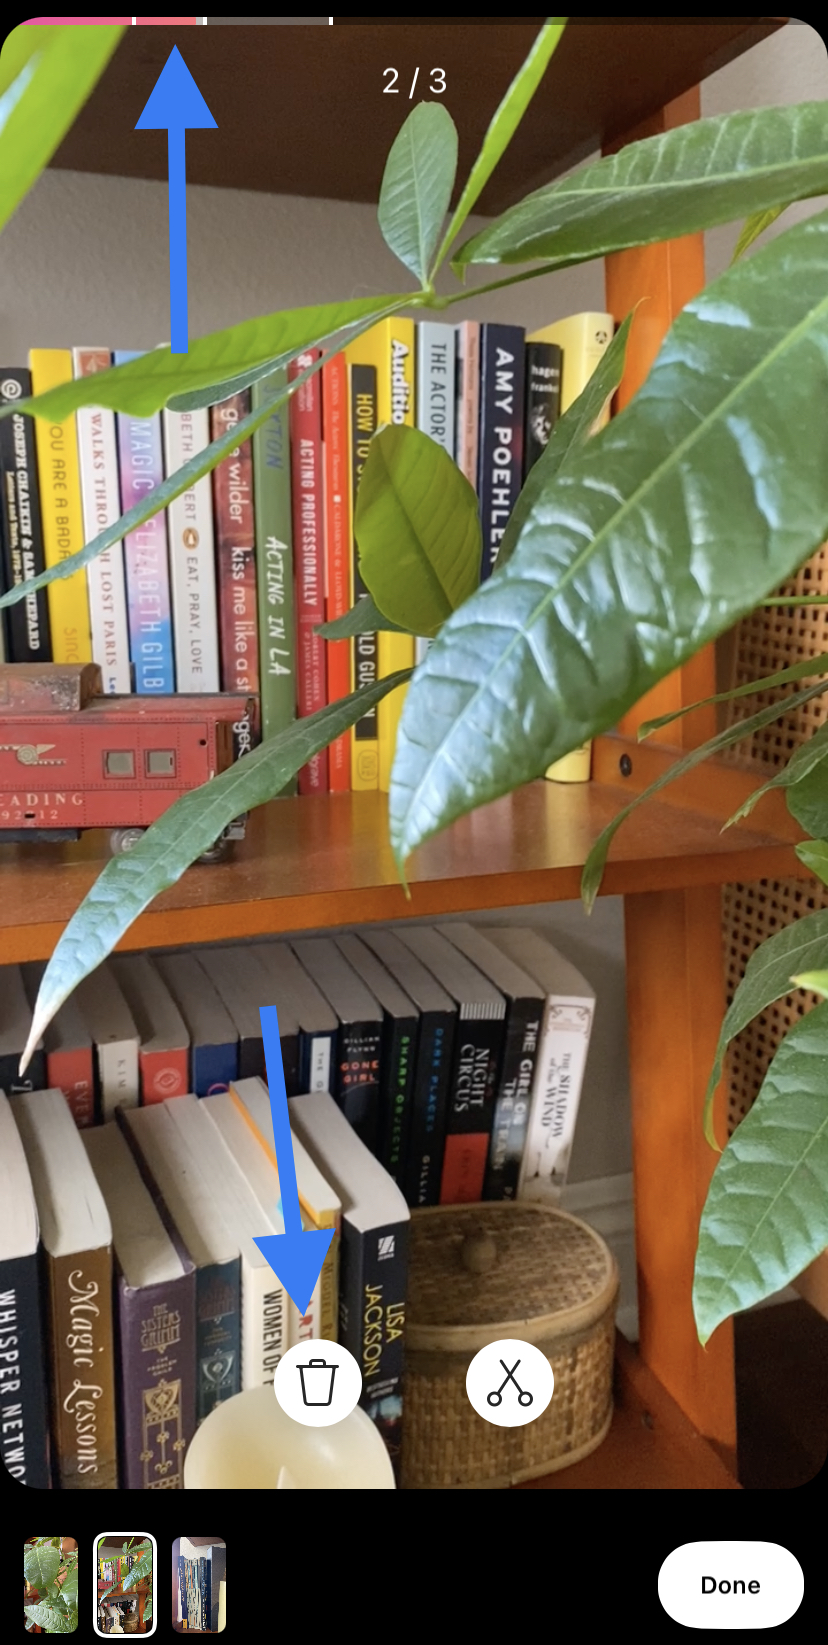
Let’s say you wanted to redo the second segment. First, select the back button to the left of the record button. This brings you to a page showcasing the three videos you’ve recorded. Select the second segment (second pink bar at the top or second video image at the bottom left) and press the trash icon! The scissor icon can be used to trim the clip. Now your first and third segments are still available but you’ve gotten rid of the second.
Now comes the fun part: utilizing the tools to enhance your recording. Here are Instagram’s current Reel tools and their functions:

1. Audio. Add music or audio to your video from Instagram’s library. You can even select your favorite part of a song.
2. Length. Choose whether you want the max amount of allotted recording time to be 15, 30, or 60 seconds.
3. Speed. This will automatically be set 10 normal speed (1x) but if you’d like to slow your video down or speed it up you can choose between .3x and 4x
4. Layout. This allows you to split the frame into grids or either two, three, four, or even six separate squares.
5. Timer. This function is super helpful for precise recording (like lip syncing over audio). You can adjust how long you want a segment to record for and set a timer to count down when it will start recording after you’ve hit record.
6. Effects. Just like an Instagram Story, you can add effects and filters to your Reels!
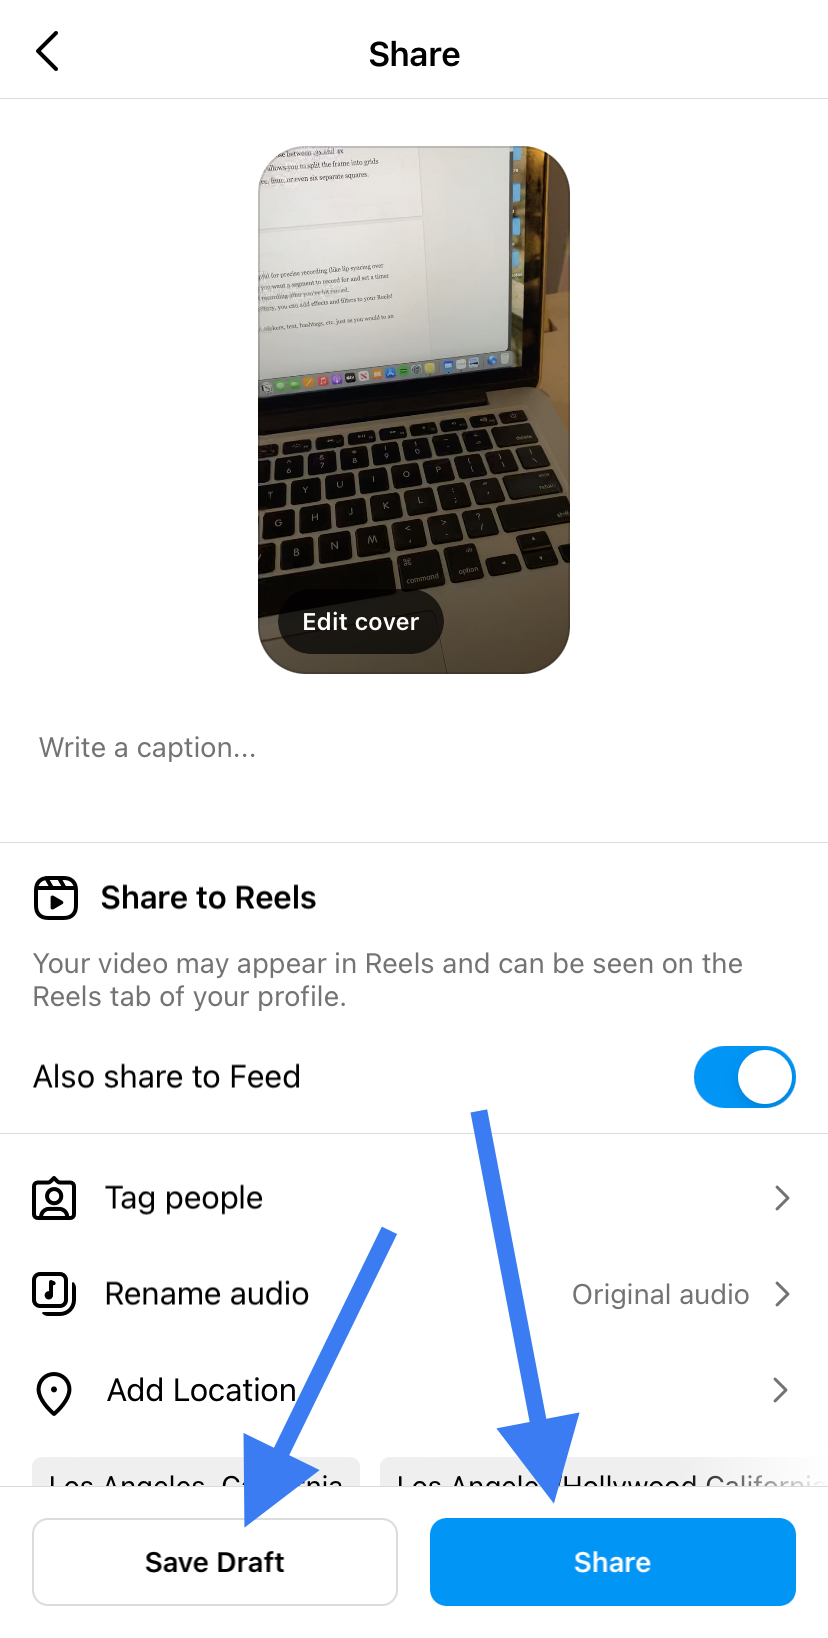
Once you’re done, hit “next” and add stickers, text, hashtags, etc., just as you would to an Instagram Story. And that’s it! You’re ready to post your first Reel by clicking “share.” Now let’s say you’re not ready to post quite yet or you’re reel batching (creating lots of Reel content all at once to sprinkle throughout your content calendar later on). You’ll hit the “draft” button and the video will be saved to a separate draft folder.
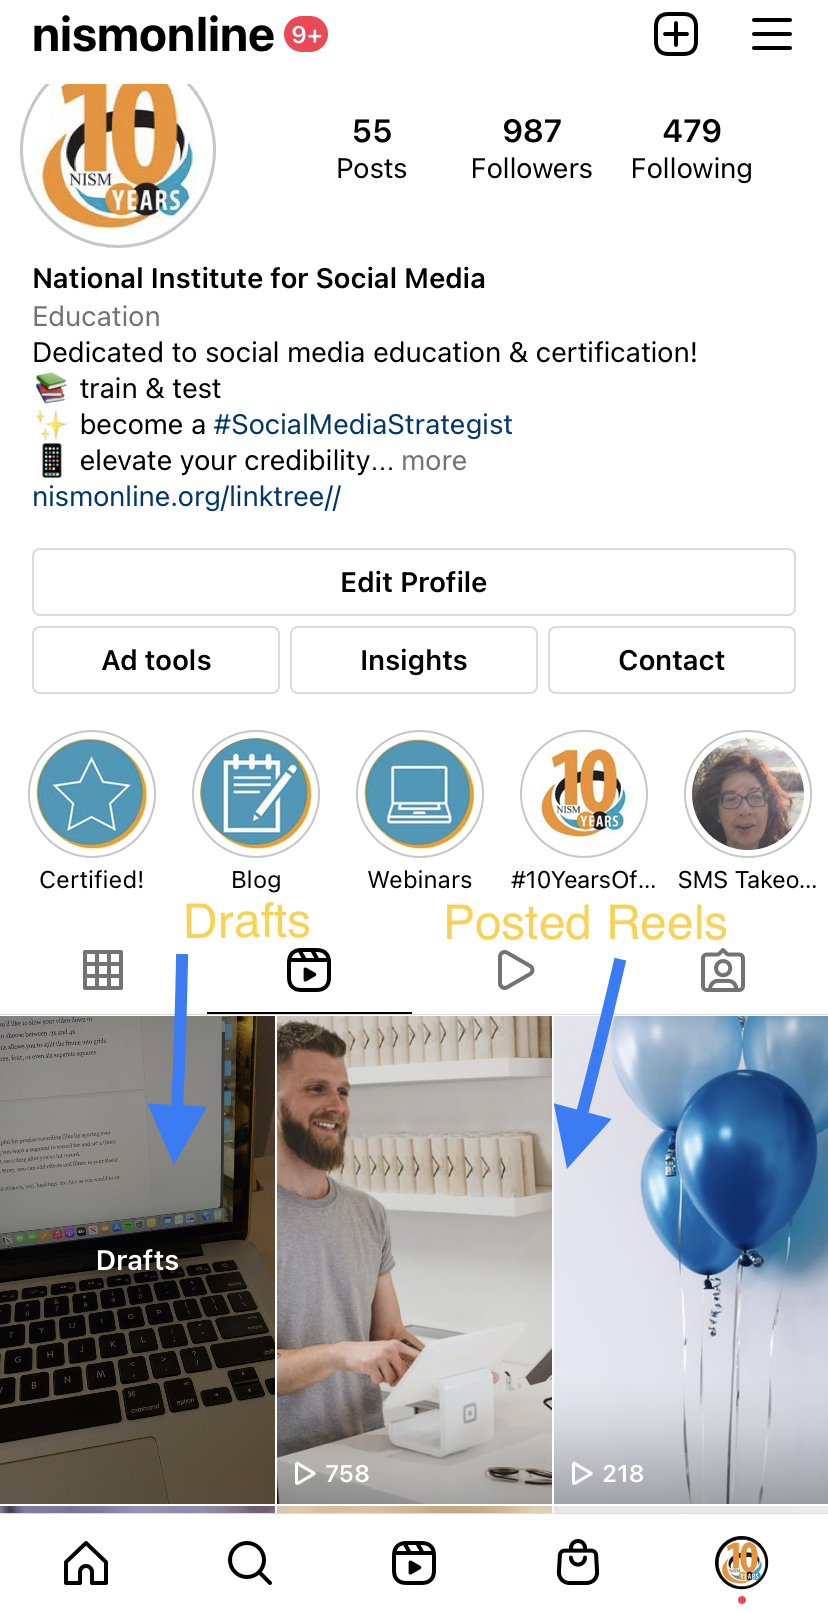 Your drafts can be accessed at any time to post at a later date. Trust us, this will come in handy. And there you have it! If you’re still thinking… but where do I start? How do I figure out what to film? What would my audience want to see from me? Stay tuned! I’ll be writing a second blog post on this topic soon.
In the comment section below let us know if you have any specific questions you’d like answered!
 Author: Celeste Russell, SMS
Hailing from Las Vegas, Nevada, Celeste began working with NISM as a summer intern in 2019. Since then she has found a real home in the community, earned her SMS certification, and currently works as the Social Media Coordinator for NISM and the Social Media Manager for OMCP. Celeste graduated from Saint Mary’s University of Minnesota with a B.A. in Acting & Communication for the Arts. Her passions have always included effective communication both on and off the stage and she is grateful that working remotely allows her the opportunity to pursue her acting career simultaneously. She currently lives in Los Angeles with her wonderful husband and their three pets.
Feel free to connect with Celeste on LinkedIn.
Check out part 2 to this blog post: Instagram Reels: Trendy and Targeted!
0 Comments